WINDOWS DEPLOYMENT SERVICE
_________________________________________________________________
- WDS
In environments with a high number of clients WDS can be very useful, a new computer can be formatted just plugging the Ethernet, without any physical support like Windows DVDs or USB drives.
The configuration isn’t difficult but there are some requirements:
- There must be an Active Directory Domain Services.
- At least one partition on the server must be formatted as NTFS.
- A DHCP server must be active to assign IP addresses to the WDS clients.
- WDS configuration
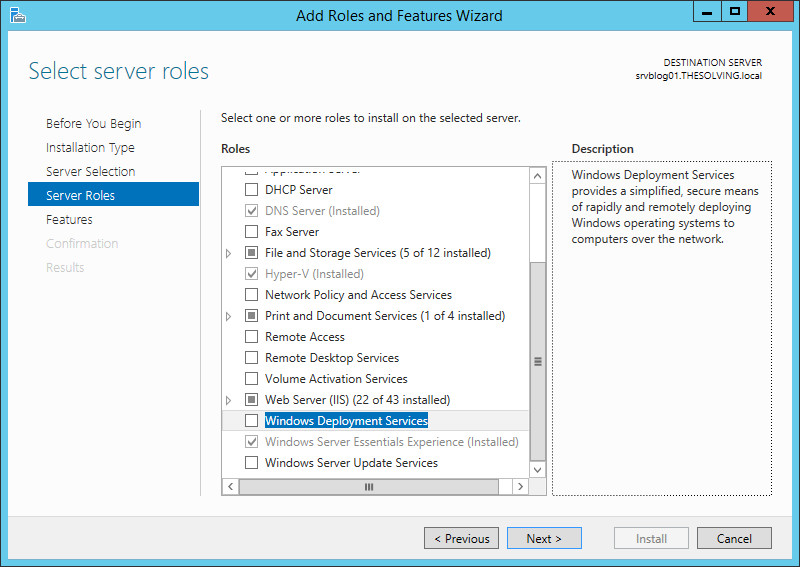
1. Installing the role
Open the Server Manager and add a new role. Choose Windows Deployment Services:
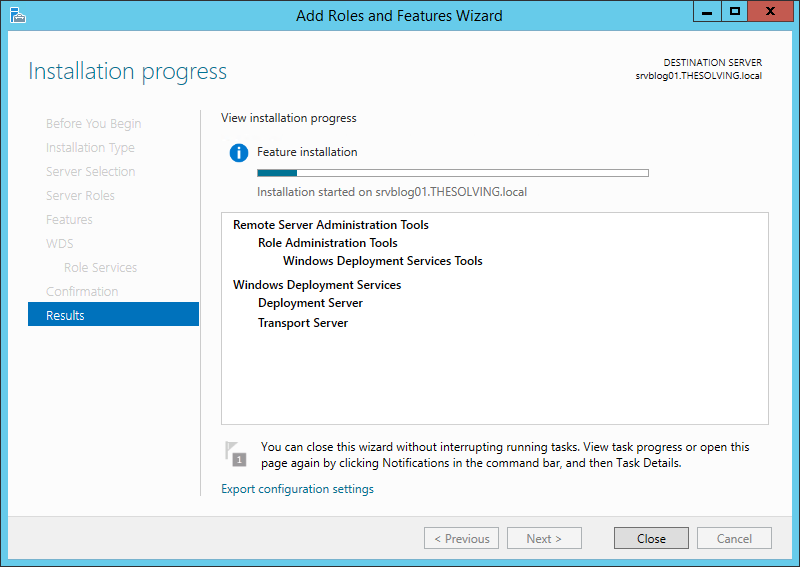
Follow the steps and install the role:
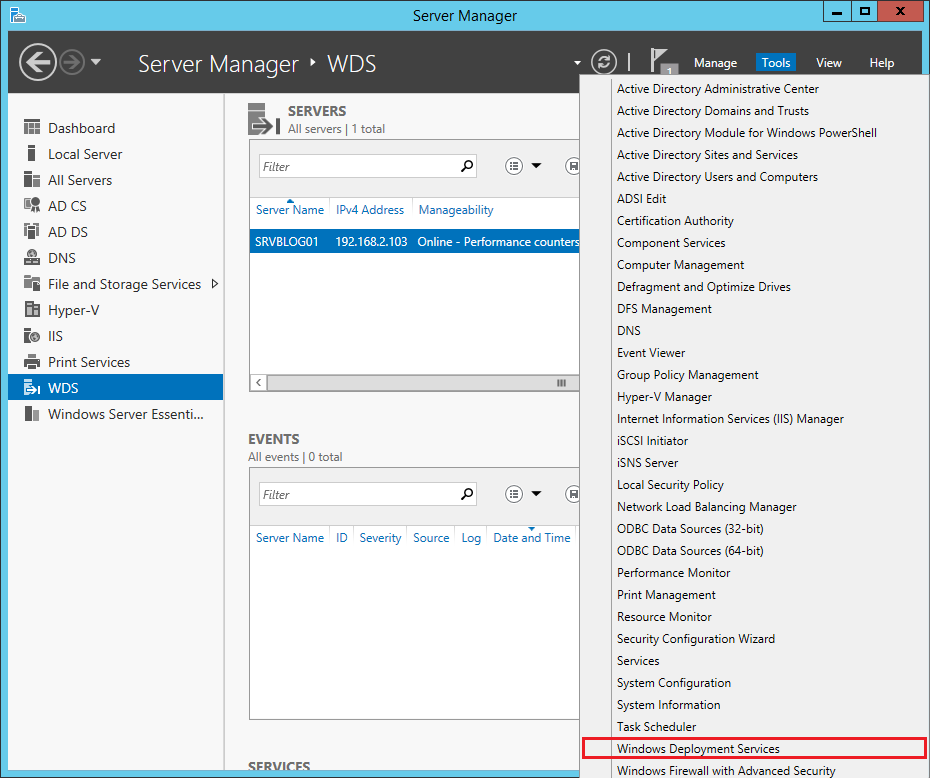
From the Tools menu of the Server Manager you are now able to access the WDS configuration panel:
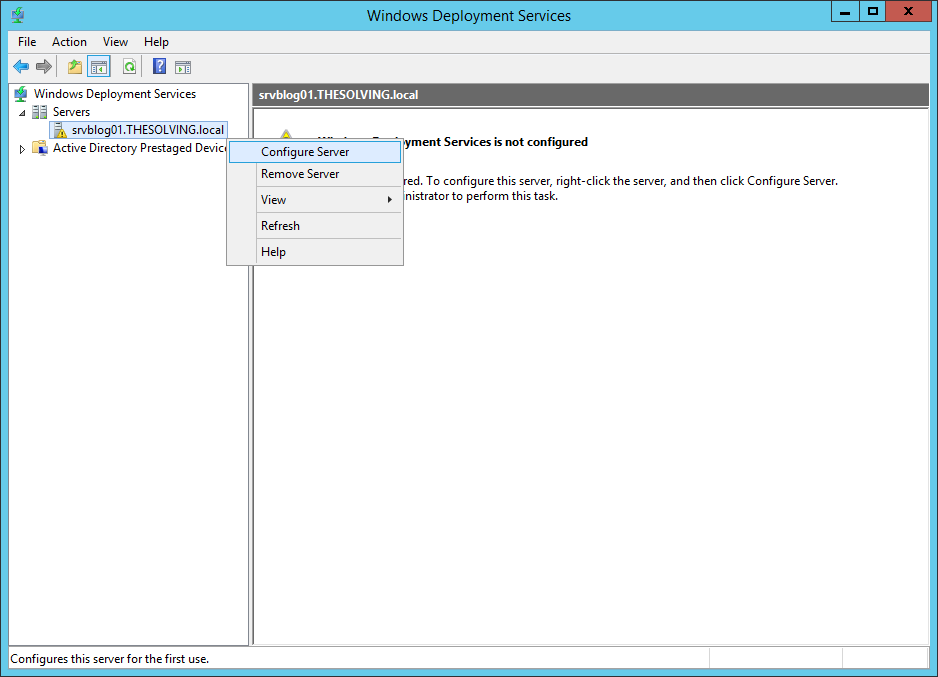
2. Configuring Windows Deployment Services (WDS)
From the Servers list choose the server, right-click and select Configure Server:
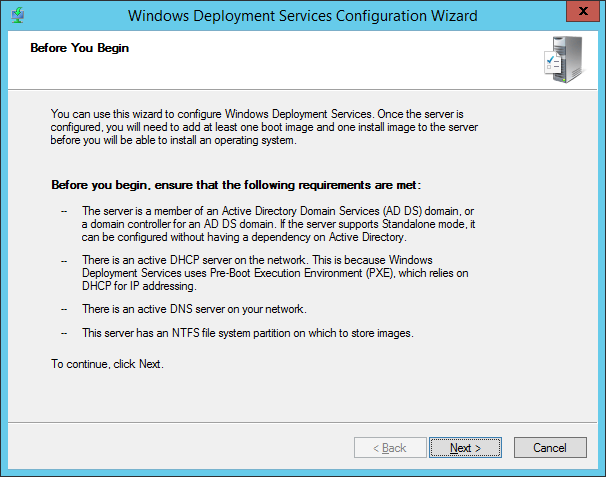
Click Next:
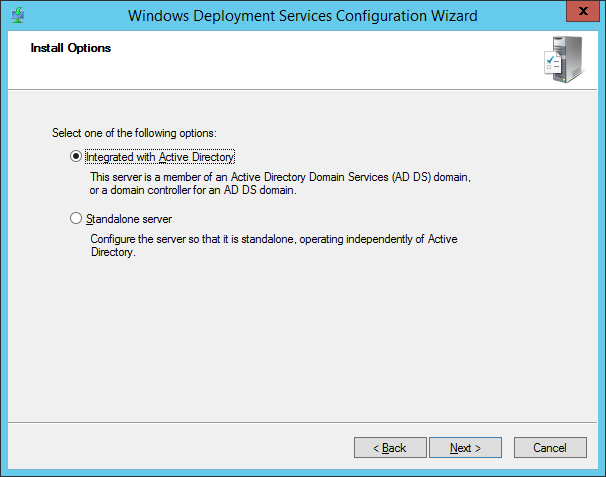
Select Integrated with Active Directory:
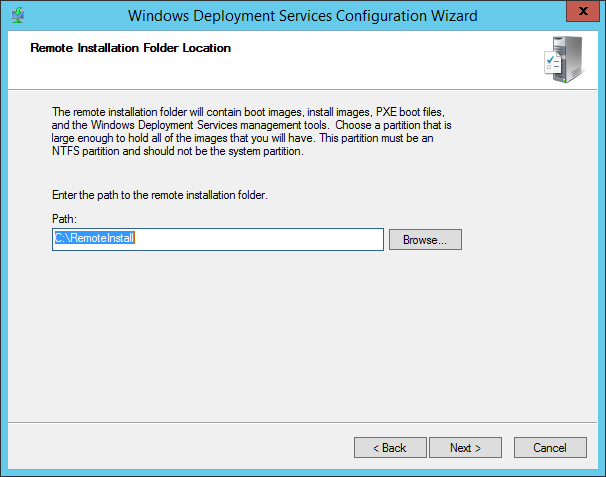
Specify the path where the boot and installation images will be stored:
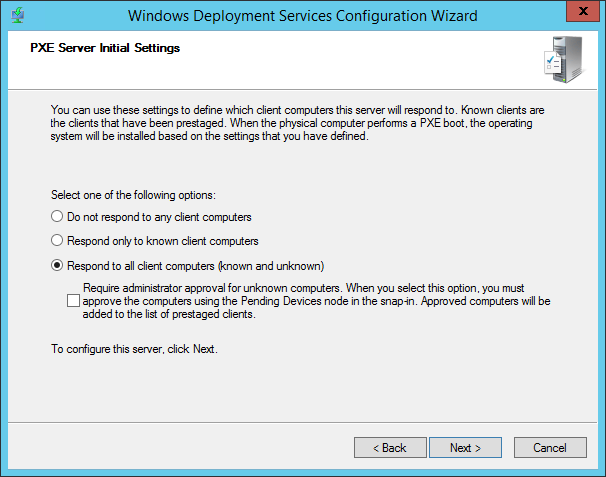
In our example we configured the server to respond to any request, from known and unknown clients:
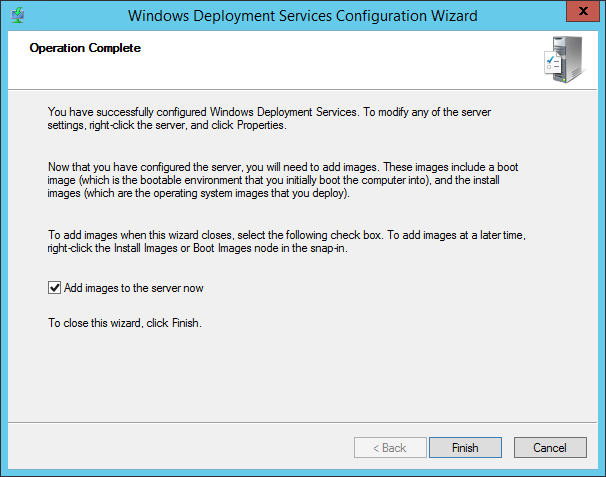
Click Finish, WDS will ask you to add the images:
3. Images addition
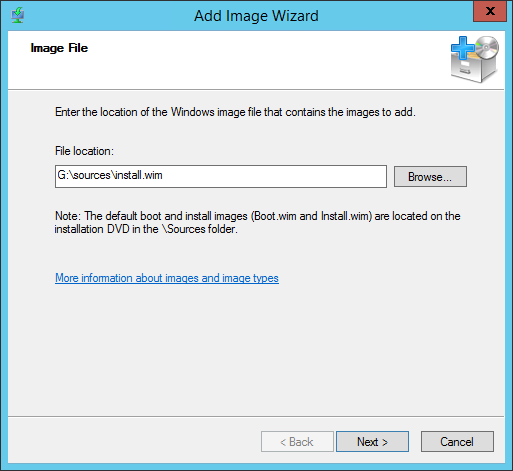
A new Wizard will start, asking you to add boot and install images. The images for every version of Windows are included in the official DVD or USB drive, under the folder sources:
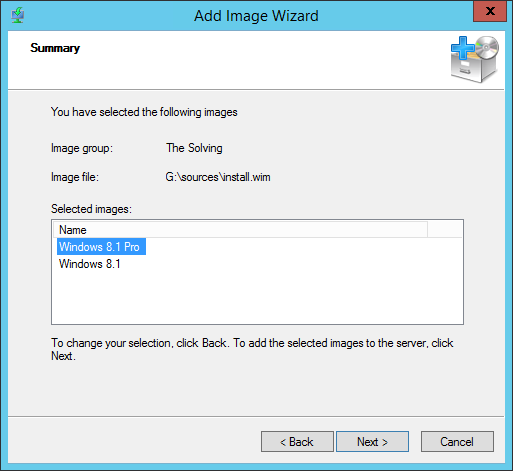
Choose the images you want to add:

Click Next:
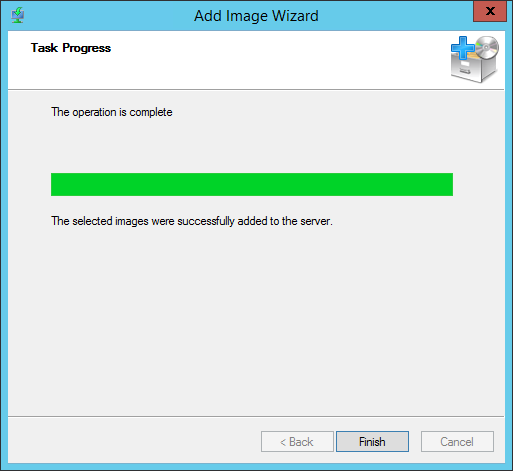
The install image has been added:
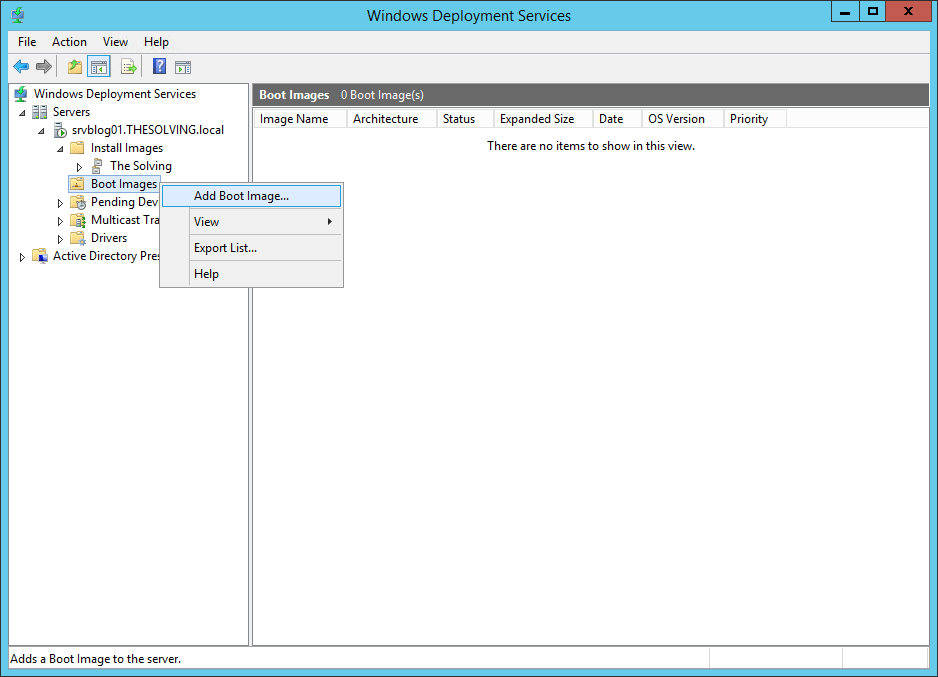
Right-click on Boot Images and select Add Boot Image:
Specify the path:
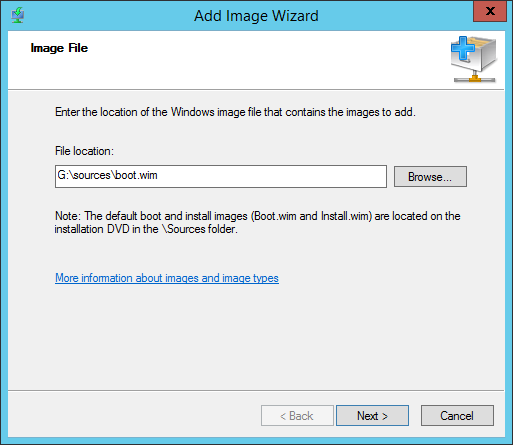
Click Next:
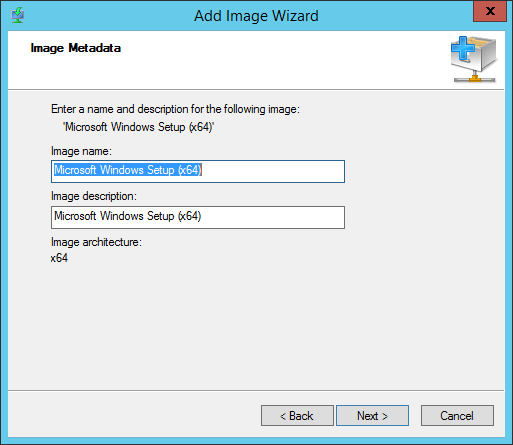
Click Next:

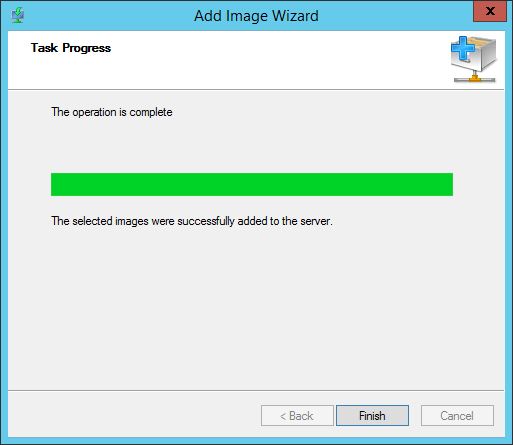
Operation completed!
4. Deploy Windows with WDS
We created an empty virtual machine in the same network to show you how to deploy Windows with Windows Deployment Services.
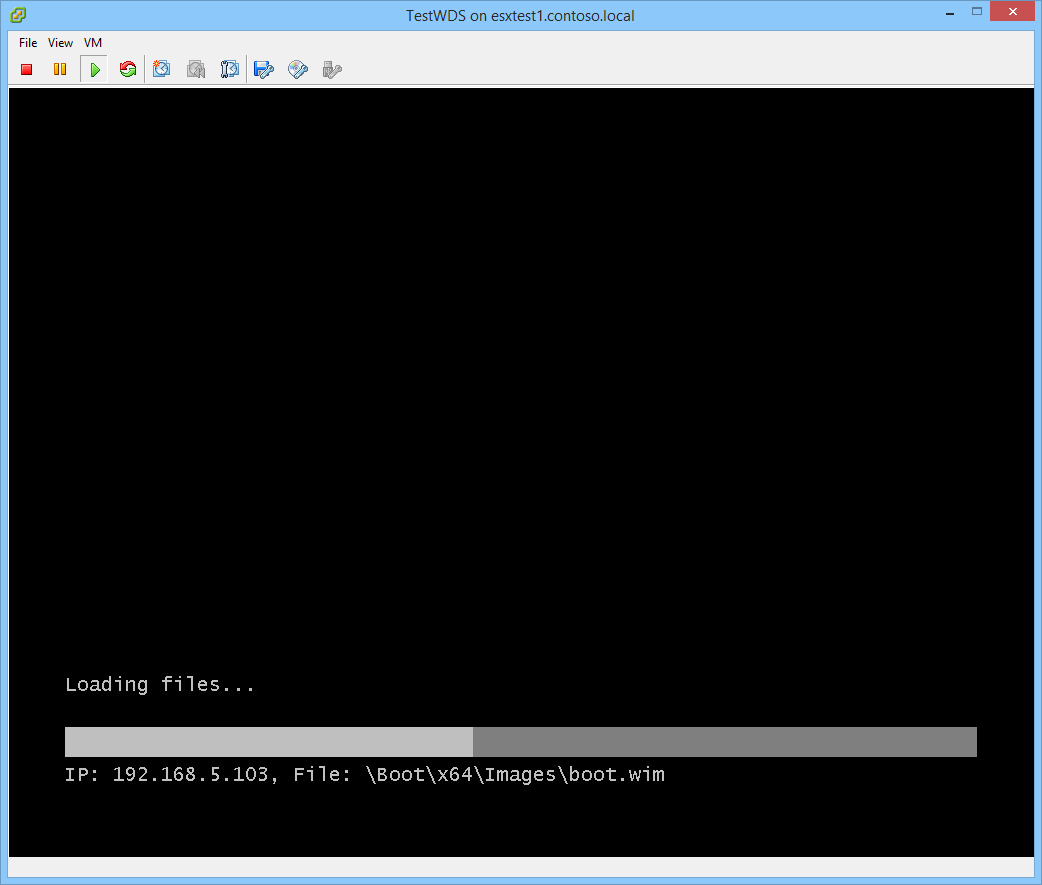
We run the machine and clicked F12:
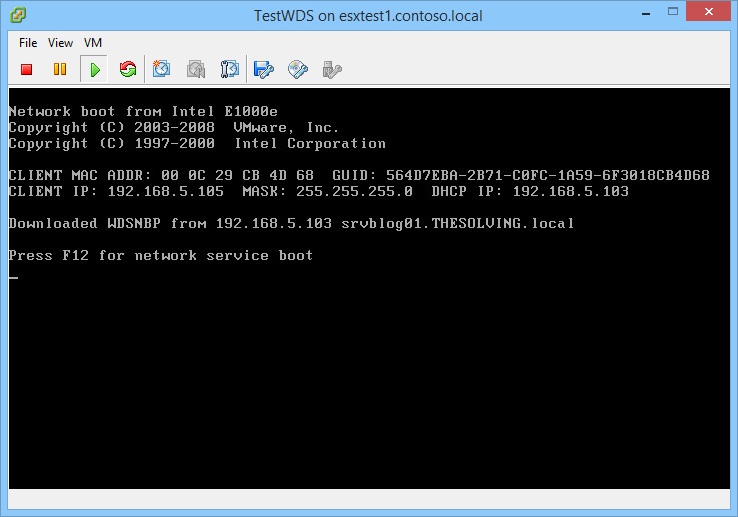
The machine is booting via network:
Comments
Post a Comment