DNS, DHCP
___________________________________________________________________
- DNS
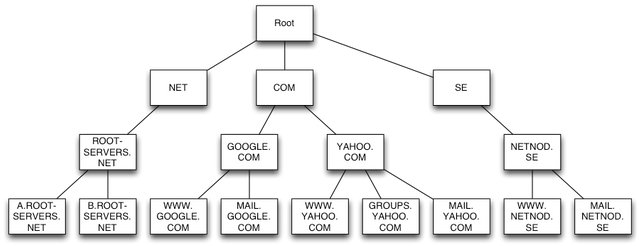
DNS stands for Domain Name System. It is a service that translates the domain name into IP addresses. DNS is a directory service that provides a mapping between host on the network.
- Default service port no. for DNS:
- TCP-53 (Transfer)
- UDP-53 (Quarries)
- Default location → C: \ windows \ system32 \ DNS
- DHCP
DHCP stand for Dynamic Host Configuration Protocol. It is a service or server that provided IP configuration. Like: IP Address, Subnet mask, Gateway, and DNS Address to client device automatically.
- DHCP server is known as DORA process.
D → Discover
O → Offer
R → Request
A → Acknowledgement
- Leased duration
For Wireless Network (default) → 8 hour
- Leased renewal time process
T2 → 67.5% of leased duration
- Service port no.
For Client → UDP 68
- DHCP option
Router → 003
DNS server → 006
DNS Domain name → 015
Perform router discovery → 031
Static route → 033
Vendor-specific information → 043
WINS / NBNS server → 044
WINS / NetBT node type → 046
Net BIOS scope ID → 047
Lease time → 051
Renewal (T1) time value → 058
Rebinding (T2) time value → 059
Classless static routes → 249
- Default location of DHCP database C: \ windows \ system32 \ DHCP
- Cammand
ipconfigɸ/all
ipconfigɸ/renew
ipconfigɸ/release
ipconfigɸ/flashdns
- DHCP Relay Agent
DHCP Relay Agent is a protocol that works between DHCP Client and DHCP Server located on different segment or different network.
- DHCP Configuration
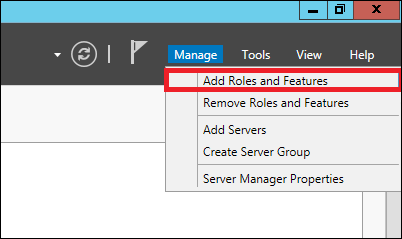
2) Go Manage and open Add Roles and Feature
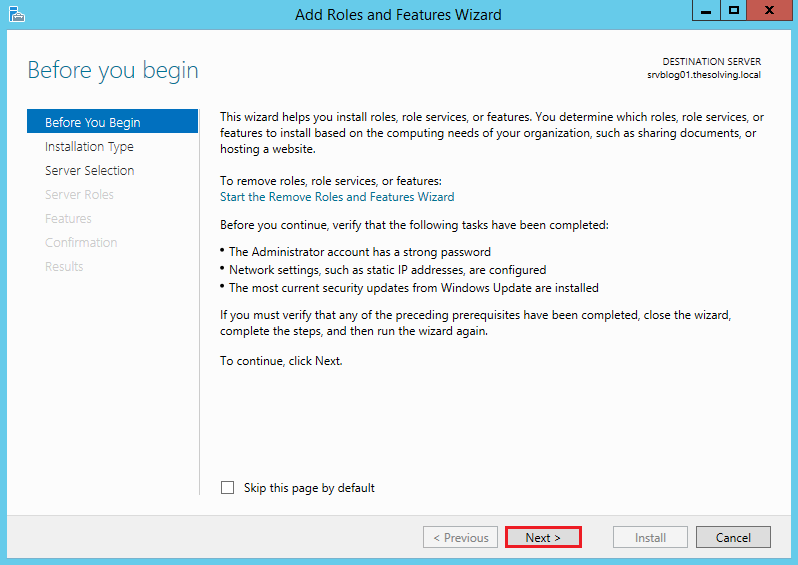
3) click Next ......... Next ......... Next

4) click Next
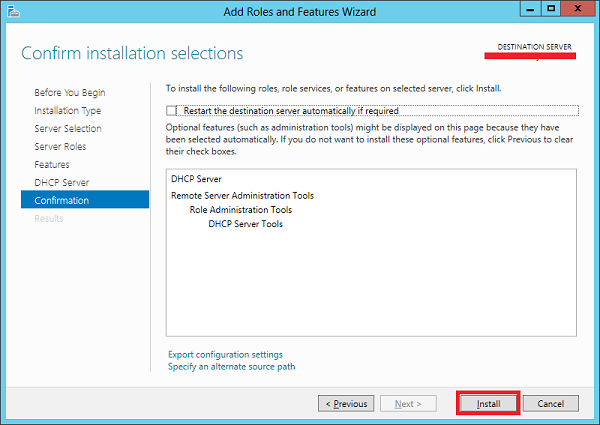
5) ☑ Restart the destination server automatically if required

6) After installing click on Close
7) Open Tools in server manager
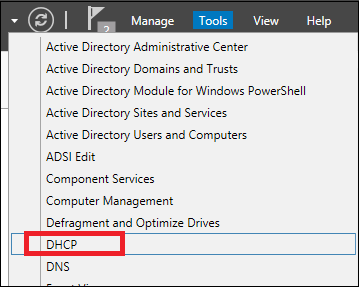
8) Click DHCP
9) Open New Scope


10) click Next

11) click Next
12) Set IP Range

13) click Next
14) Set Static IP

15) click Next

16) click Next

17) click Next

17) click Finish
Comments
Post a Comment